


As infrared panels are a relatively recent form of technology, you might not have thought much about where exactly is best to install them around your home. After all, anyone with a basic understanding of thermodynamics knows that heat rises. It’s what makes underfloor heating a popular option and the reason why radiators are always installed at ground-level. However, this way of thinking doesn’t apply to infrared panels. Why? It’s all to do with the way they heat. For this reason, there are certain considerations you’ll need to make when choosing the perfect spot for your new heater.
Radiant heat – how does it work?
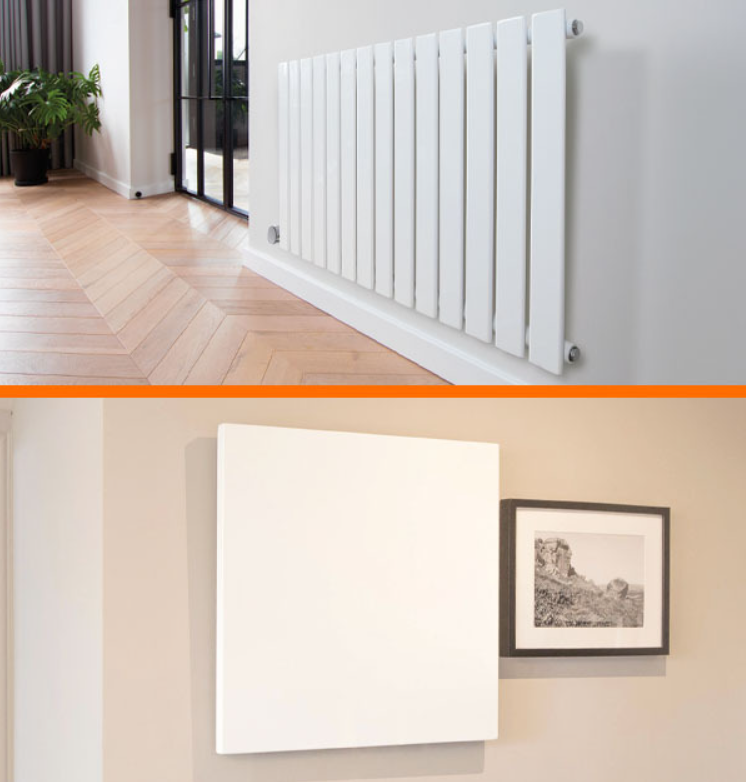
Unlike other systems like electric radiators and electric panel heaters, infrared panels use radiation as a sole method of heat transfer. It not only makes them highly efficient, but their use of radiant warmth offers a more even distribution of heat. As infrared sinks deeply into the fabrics of your home, the people, objects and surfaces within it reradiate that warmth back, essentially creating 360ᵒ heating. That way, infrared panels can work at a lower wattage than other heaters and produce the same results, saving you money in the long run.
Why correct placement matters
With infrared, there’s no need to worry about losing warmth to ceilings or draughts like you would a convection heater. Infrared panels emit their heat directionally in waves – whatever’s in their path will benefit regardless of airflow. This is a big plus, especially if your room struggles to retain warmth due to size or insulation. However, this does mean the placement of your infrared panel matters more than it would a convection heater, as it needs a clear line of sight to work effectively.
In this video, we’re providing an in-depth rundown of infrared heating. What is it, what are its benefits, and how much do infrared heaters cost to run?
Where not to install an infrared panel
Near the floor
This may be a tempting location considering this is where a radiator would go. As we’ve explored, infrared heaters work differently to convection heaters, so being installed near the floor will only hinder their performance. Instead of delivering heat to the bulk of the room, warmth will be directed to low-level objects and surfaces. Your feet, your cat, and the legs of your coffee table will certainly feel the benefits, but if you want the entire room to bask in the long-lasting, comforting warmth of an infrared panel, it’s best to avoid this low-level location!
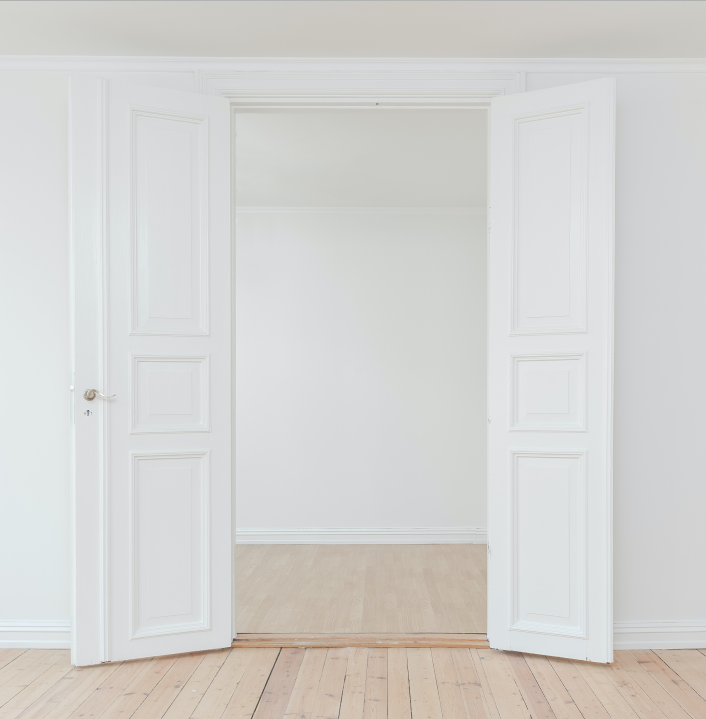
Tucked behind doors & near obstructions
Infrared panels work best when they’re completely free of obstructions. In fact, it’s pretty much a necessity, as being too close to objects will cause excess heat to build up behind the heater and will void the warranty. The area next to a door may look like the best place to install your infrared panel – and it might well be – as long as it’s not the side where the door opens to. It’s very easy to forget to close the door behind you after you’ve entered a room. Even if it’s open a little bit it could block a portion of the heat emitting from your infrared panel, interrupting the wave of warmth from spreading out evenly.
In alcoves
Another no-go for installation would be those little recesses of our homes, like the wall next to the living room chimneybreast. The deeper the alcove, the more restricted the infrared panel will be in dispersing heat. So, even if it’s pointed towards the key points of a room, it’ll be the alcove wall that will be absorbing and reradiating most of the warmth.
The best locations for infrared panels
So, now we know what not to do when choosing a spot for our infrared panel, it’s time to look at the alternatives. While there are some freestanding infrared panels available, the bulk are designed to be mounted on the wall or ceiling. Both are a discreet, efficient option and offer their own unique benefits depending on the size and shape of the room. Generally, it’s best to follow these three rules when choosing a mounting location:
High up on the wall or ceiling
Completely free of obstructions
Pointing towards main living areas
Installing an infrared panel on the wall
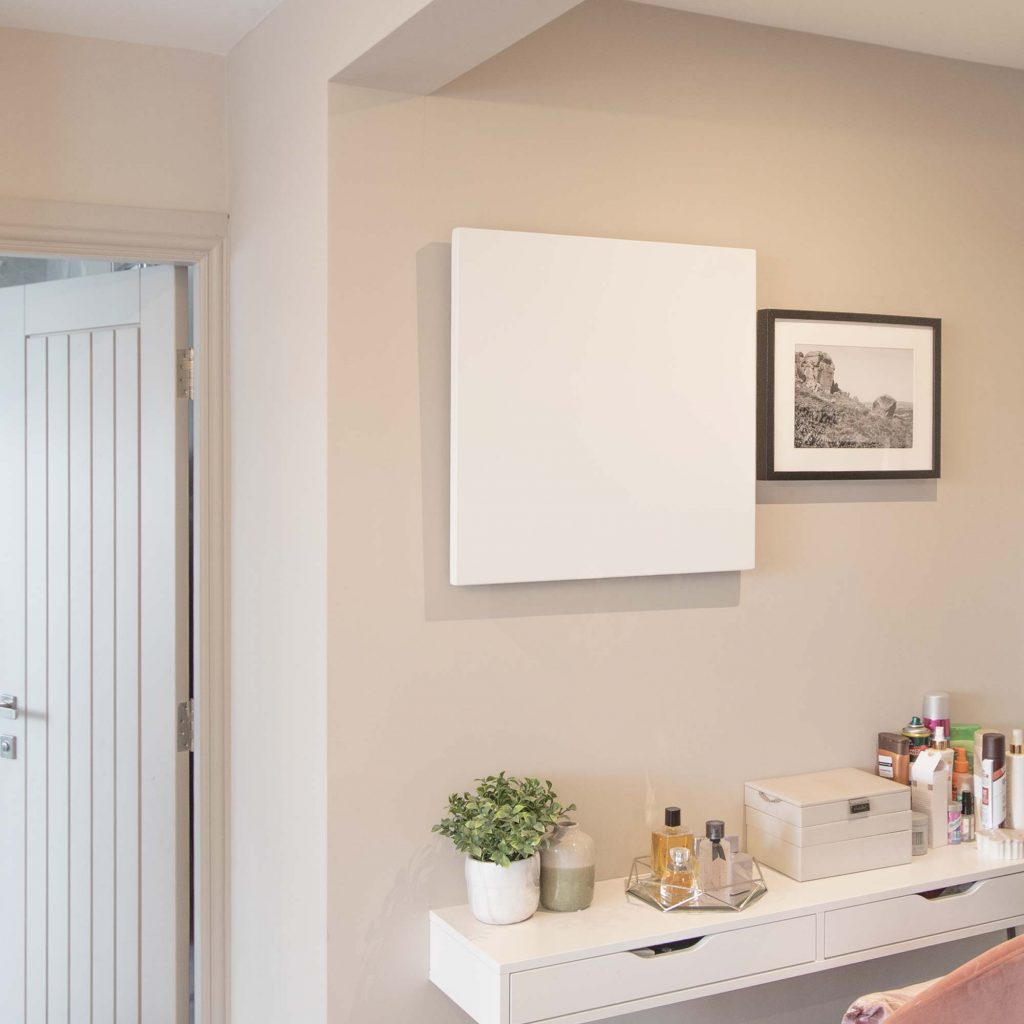
The slimline, discreet nature of an infrared panel makes wall-mounting a no brainer. Position them to focus on specific areas around your home and never waste energy heating spaces that don’t require it. With the heat of infrared absorbed and retained by surrounding walls and furnishings, wall-mounting results in comfortable, long-lasting warmth that can be felt long after the heater’s stopped drawing power. Plus, with an extensive collection of styles and finishes to choose from, your wall panel can integrate seamlessly within its interior or act as its own wall feature in and of itself.
How to install:
- DIY – Installing your infrared panel on the wall is very similar to mounting a TV and is just as simple. With all fixtures and fittings included, use your template to drill the holes for the wall plugs, mount the panel and screw into place, and finally plug into an ordinary 3-pin socket. The manual that comes with your product will tell you everything you need to know, so be sure to read it thoroughly before attempting.
- Hardwired – If you’re installing in a bathroom or would prefer a more integrated appliance, an electrician can hardwire your infrared panel into a fused spur. This is a standard job for a professional and shouldn’t be too costly – plus, you’ve got the added bonus of a wire-free finish.
Best suited for:
Rooms with high ceilings

With infrared, there’s no chance of losing heat to the upper levels of a room – simply position your infrared panel at the exact height you need for optimal warmth at ground-level.
Open plan spaces

Strategically direct warmth to the areas that need it most, like a seating area or workspace. The warmth of infrared panels is far-reaching, but isn’t concerned with trying to heat an entire room like a convection heater is. This makes them particularly effective in larger, draught-prone spaces.
Dual-purpose heating
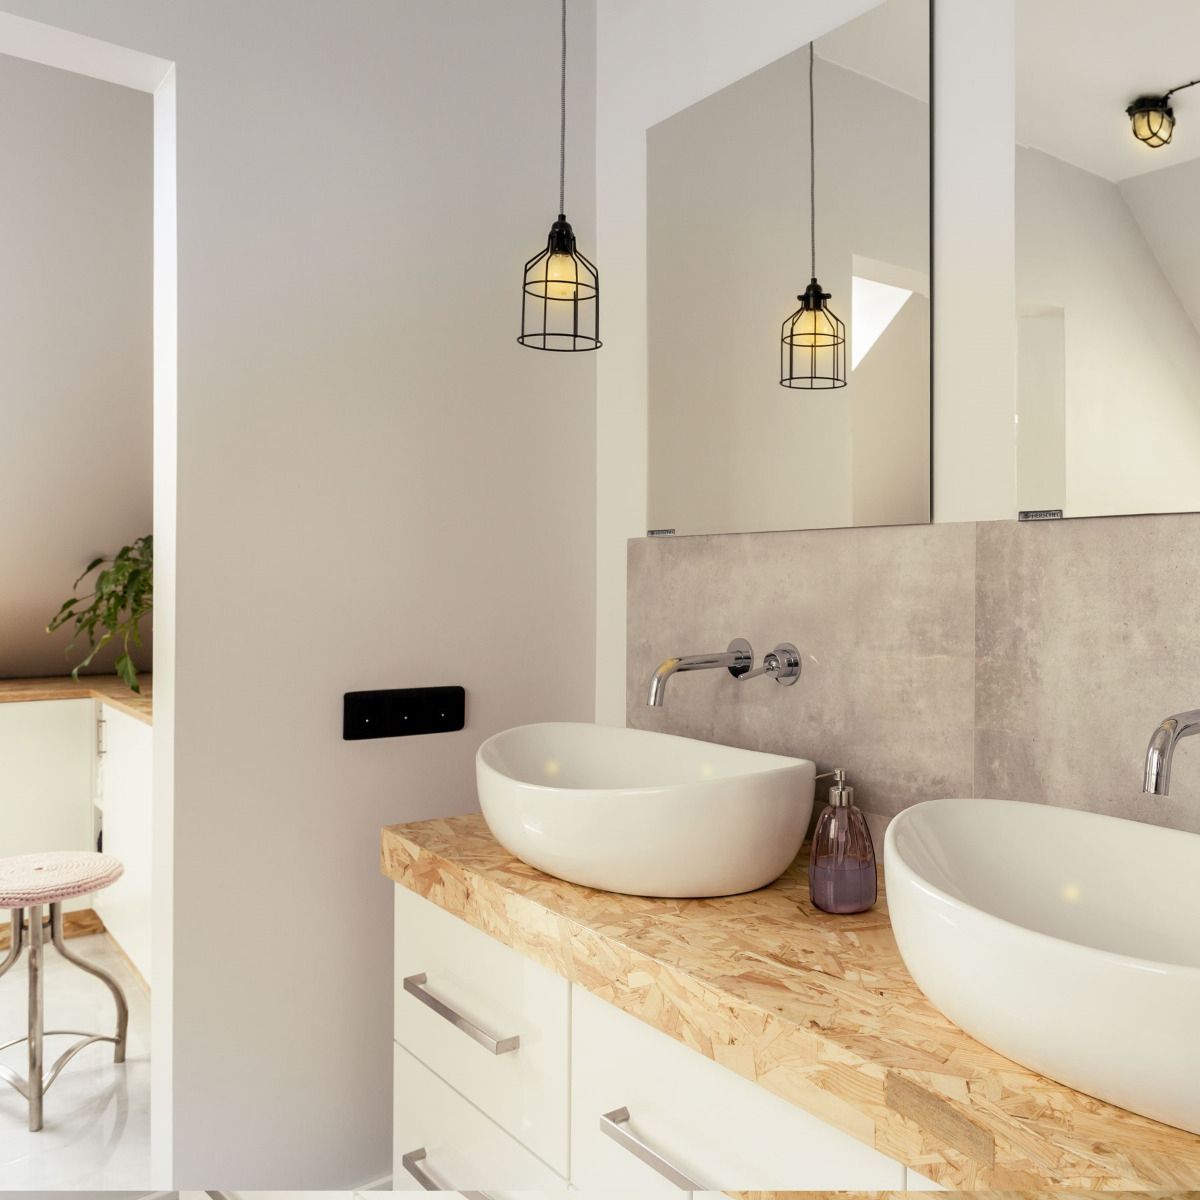
Some wall panels come with a mirrored surface, cleverly disguising their original function. This makes them very well-suited for bathrooms since they naturally combat dampness and won’t fog up after a shower.
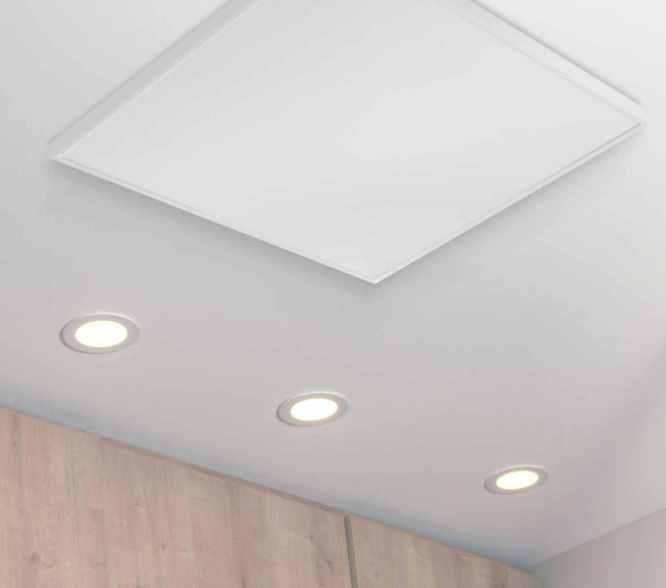
Installing an infrared panel on the ceiling
Another popular location, mounting on the ceiling makes a lot of sense when it comes to how infrared panels heat. By directing them downwards, you’re getting an unhindered spread of warmth that can be felt evenly across a room. Plus, you’ve got the added benefit of keeping wall spaces free. With zero maintenance necessary and advanced control options on offer, the ceiling is the ultimate fit-and-forget location.
How to install:
- DIY – DIY-installing a ceiling panel is more than possible for most products, but be sure to check if you’ll need to buy a separate mounting kit or if it’s only suitable for slotting in a ceiling grid. As most homes will be dealing with plasterboard, DIY-installation should be quite similar to mounting on the wall. If it’s heavy, it’s probably best to get another person to help.
- Hardwired – Some ceiling panels are only suitable for professional installation, and many customers prefer this option since it will result in a cleaner finish with less wiring on show.
Best suited for:
Irregularly-shaped rooms
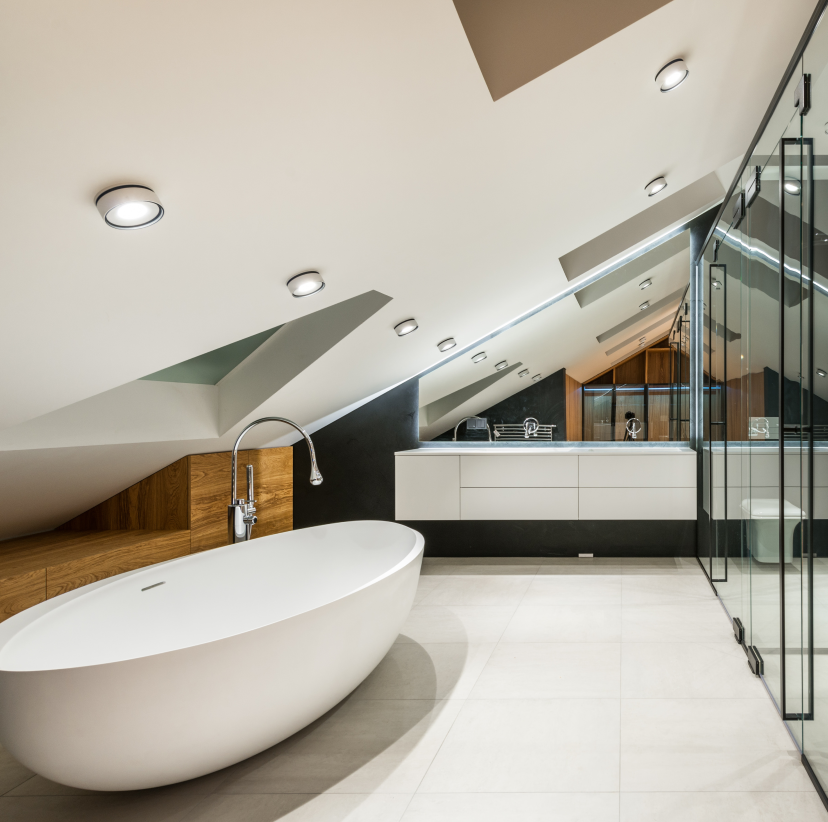
If a room is made up of non-perpendicular angles and awkward nooks and crannies, ceiling installation will allow for an unrestricted dispersion of heat no matter the layout.
Rooms with restrictive wall space

Trying to find a spot to fit a heater in ‘busy’ rooms like kitchens can be a nightmare. Ceiling installation means not having to contend with any white goods, cabinets or shelving. Plus, infrared heat is a great way to prevent dampness in rooms that are prone to excess moisture.
Out-of-reach, discreet heating
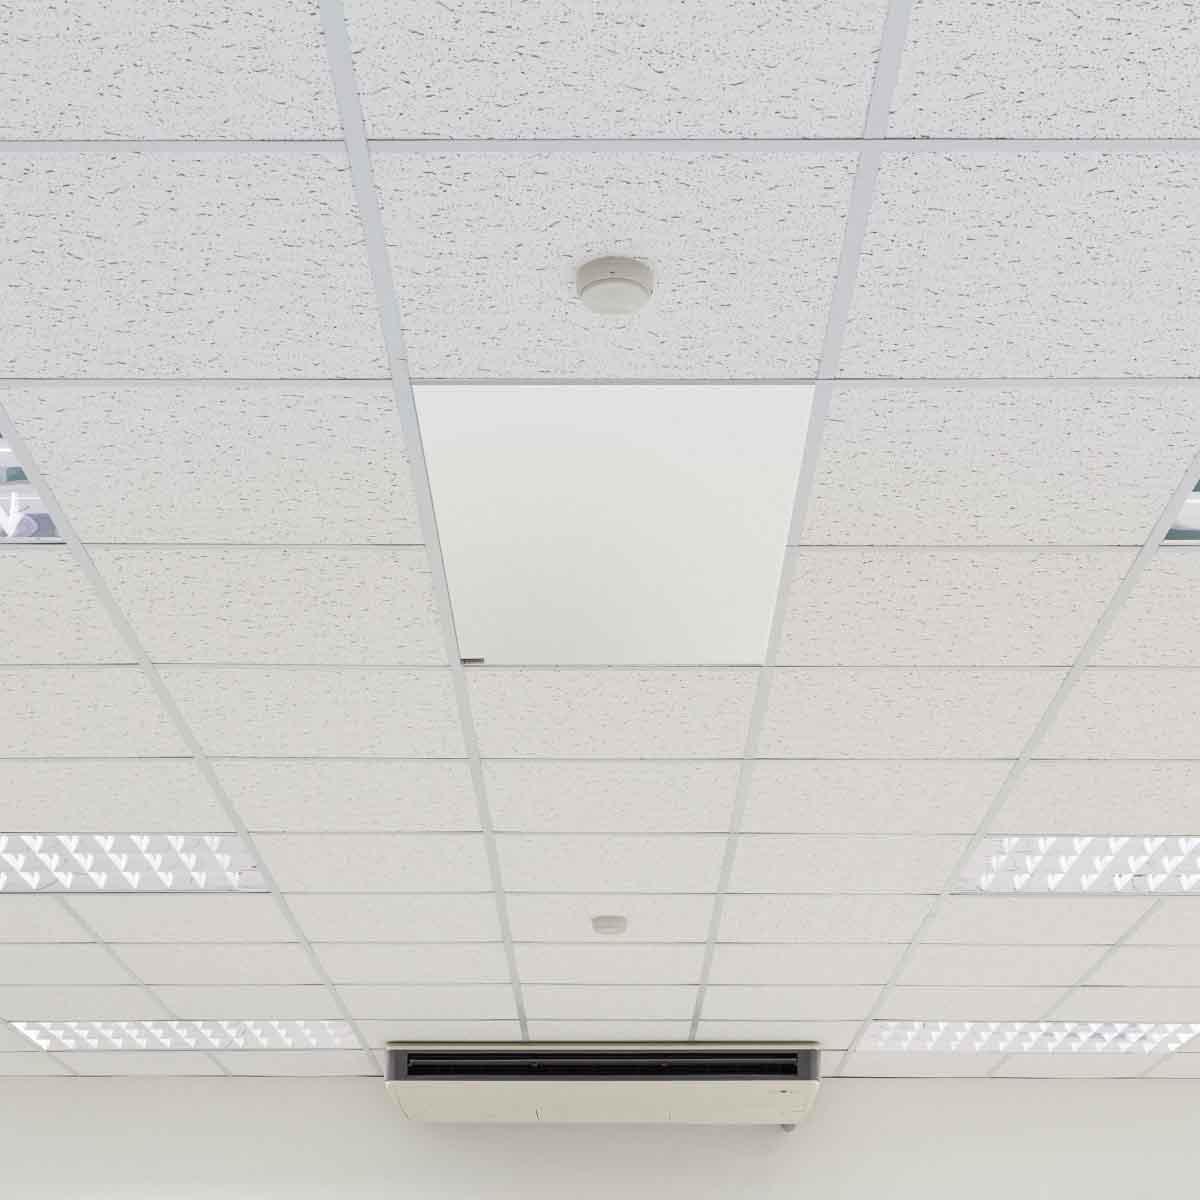
The ultimate space-saver, ceiling mounting will mean your infrared panel is totally tucked away, integrating seamlessly regardless of your home’s design scheme.
In this video, we cover all the necessary considerations you’ll need to make before purchasing an infrared panel heater. From installation, to control, to how exactly infrared works - we’ve got you covered.
If in doubt, we’re here to help
So, whether you prefer wall or ceiling mounting, we’ve got an infrared panel for you. Browse our full collection and discover the efficient, cost-effective warmth of infrared today. If you have any questions, don’t hesitate to get in touch with our friendly team of experts who will be more than happy to help you make the best choice for your home and budget.
Key learnings
- Infrared panels use radiation as a sole method of heat transfer – warmth is delivered directionally, so correct placement is necessary to ensure best performance.
- Avoid installing your infrared panels low to the ground or near obstructions, as they need a clear line of sight to work effectively.
- High up on the wall or ceiling are the best locations for infrared panels.
- Wall placement allows you more freedom to direct heat exactly where you need it – particularly useful if you’re dealing with a larger space.
- Ceiling placement provides an unhindered spread of warmth and also keeps wall spaces free.